
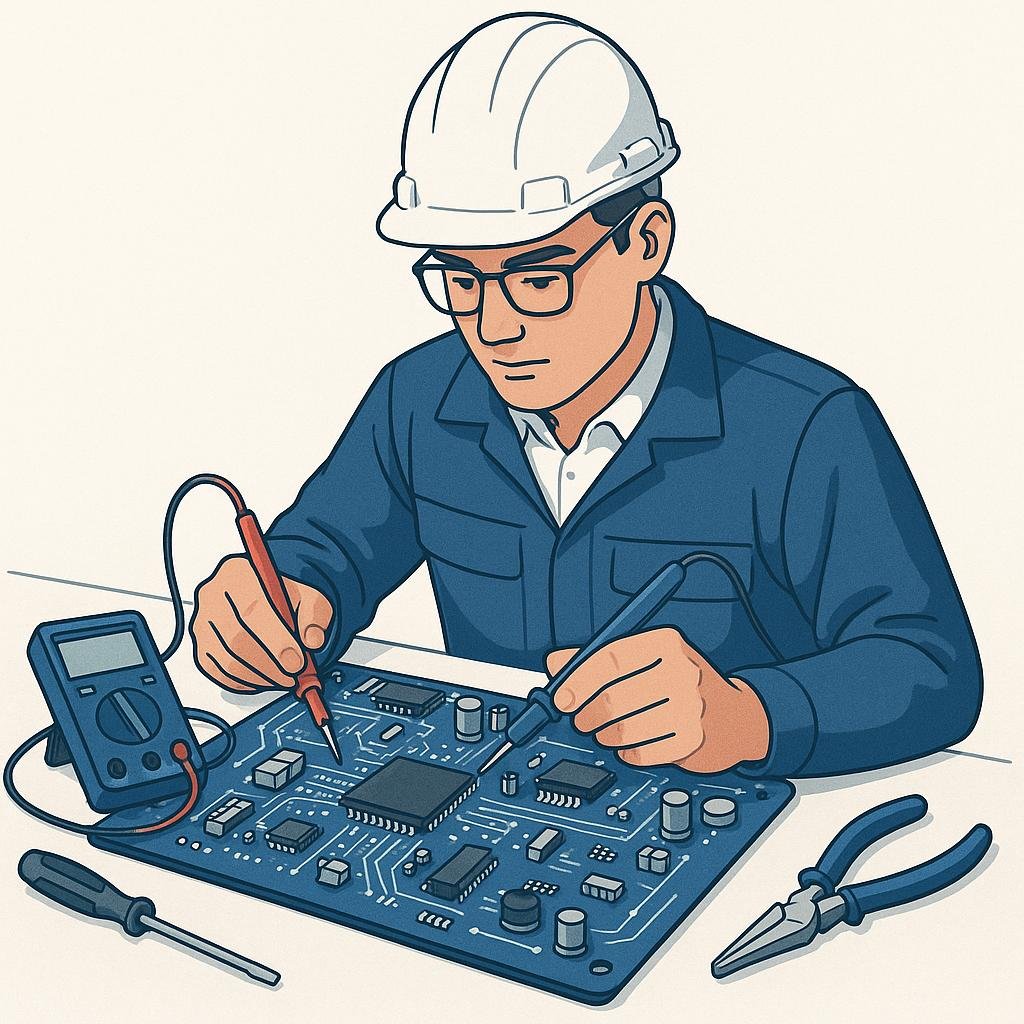
Picture this: you’re in the middle of an important project, and suddenly, your hardware fails. Panic sets in as deadlines loom. But fear not! With the right approach and a solid toolkit, debugging hardware problems can transform from a daunting task to a manageable process. Let’s dive into the engineer’s guide to debugging hardware problems, where we’ll explore practical steps, common pitfalls, and real-world examples to get you back on track.
Understanding Hardware Debugging
Before diving into specific techniques, it’s crucial to understand what hardware debugging entails. Unlike software debugging, where you can rely on logs and error messages, hardware debugging often involves more tactile and investigative measures. It requires a keen eye for detail, a methodical approach, and, often, a bit of creativity. Whether you’re dealing with a malfunctioning circuit board, a failing hard drive, or connectivity issues, having a structured process is key.
Essential Tools for Hardware Debugging
Much like a carpenter needs tools to build, an engineer needs specific tools to debug hardware. Here’s a list of must-have debugging tools:
- Multimeter: Essential for measuring voltage, current, and resistance, ensuring that components are performing as expected.
- Oscilloscope: Allows you to visualize electrical signals, helpful in diagnosing timing issues or waveform anomalies.
- Logic Analyzer: Particularly useful for debugging digital circuits, it helps capture and display multiple signals from a digital system.
- ESD Kit: Electrostatic discharge tools, including wrist straps and mats, protect sensitive components from static damage.
- Screwdriver Set: A variety of sizes for opening cases and adjusting components.
- Thermal Camera: Useful for identifying overheating components, which can indicate failure points.
Step-by-Step Guide to Debugging
Approaching hardware debugging methodically can save time and prevent further damage. Here’s a step-by-step guide to help:
1. Identify the Problem
Start by clearly defining the issue. Is the hardware completely non-functional, or are specific features failing? Gather as much information as possible from any error messages, symptoms, or recent changes.
2. Check Physical Connections
Ensure all cables and connections are secure. Loose connections can often be the culprit of intermittent issues. Re-seat all connectors and check for any signs of wear or damage.
3. Inspect for Physical Damage
Look for obvious signs of damage like burnt components, broken parts, or corrosion. Use a magnifying glass to get a closer look at small components and circuit traces.
4. Power Cycle the Device
Sometimes, simply turning the device off and back on can resolve issues. This can reset configurations and clear temporary faults.
5. Test Components Individually
Use a multimeter to check individual components like resistors, capacitors, and diodes for expected values. Swap out suspect components with known good ones to see if the problem persists.
6. Use Diagnostic Tools
Leverage diagnostic tools like POST cards for computers or built-in diagnostics on other devices. These can provide insights into where failures occur during startup.
Common Mistakes to Avoid
When debugging hardware, certain pitfalls can be costly in terms of both time and resources. Here are common mistakes to avoid:
- Skipping Basic Checks: Always start with the simplest solutions, like checking power and connections, before diving into complex diagnostics.
- Neglecting Documentation: Always refer to the manufacturer’s documentation and schematics. They can provide invaluable insights and specific troubleshooting steps.
- Overlooking Software: Hardware problems can sometimes be symptoms of software issues. Ensure drivers and firmware are up-to-date.
- Ignoring Environmental Factors: Factors like temperature, humidity, and dust can impact hardware performance. Ensure the environment is suitable for the device’s operation.
Real-World Examples
Let’s explore some real-world scenarios to illustrate effective hardware debugging:
Example 1: The Unresponsive Laptop
A laptop suddenly stops powering on. The initial check reveals no power indicator light. After verifying the power adapter is functional and re-seating the battery, the issue persists. Using a multimeter, the engineer discovers a faulty power jack, which is then replaced, resolving the problem.
Example 2: Intermittent Network Issues
An office experiences sporadic network connectivity. Initial inspections show all cables are intact and devices are configured correctly. Using a thermal camera, the network switch is found to be overheating. Adding additional cooling resolves the connectivity issues.
Example 3: Failing Hard Drive
A desktop computer frequently crashes. Suspecting the hard drive, the engineer uses a diagnostic tool to check for errors, revealing multiple bad sectors. The data is backed up, and the drive is replaced, stabilizing the system.
Final Thoughts
Debugging hardware problems can be challenging, but with the right approach and tools, it becomes a manageable process. Always start with basic checks and use a methodical approach to identify and resolve issues. By avoiding common mistakes and learning from real-world examples, you’ll sharpen your troubleshooting skills, ensuring that hardware failures become less of a headache and more of an opportunity to flex your engineering muscles. Remember, patience and persistence are key.