
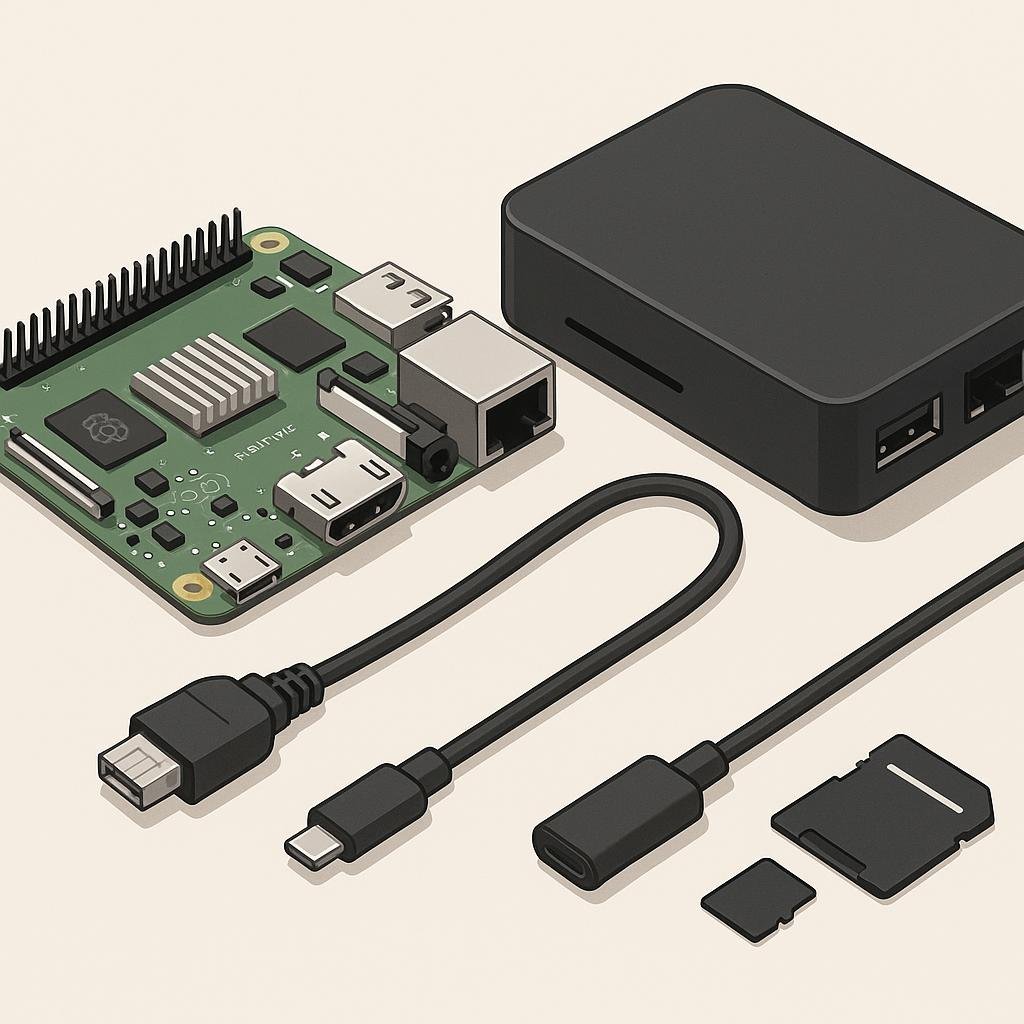
Imagine being able to access your files, stream media, or run applications from anywhere without relying on third-party services, all from a server you built yourself. What if I told you that you could do this on a budget of just $15? Yes, you read that right! Let’s dive into how I managed to build a home server with such a tight budget, and how you can do it too.
What Is a Home Server?
A home server is essentially a computer that provides services and resources to other devices within your home network or over the internet. It can store files, host websites, stream media, and even run applications. Unlike commercial servers, a home server is typically designed for personal use, meaning it’s more about convenience and functionality rather than high-performance computing.
Building a home server allows you to customize it to your needs, save on subscription fees for cloud services, and have more control over your data. Plus, it’s a fantastic project for tech enthusiasts looking to learn more about networking and hardware.
How It Works
The basic principle of a home server is to use a computer system to handle various tasks and make them accessible to other devices on the network. Here’s a quick breakdown of how a home server functions:
- Storage and File Sharing: Store all your files in one central location and access them from any device in your home network.
- Media Streaming: Stream videos, music, and other media files to devices like smart TVs, tablets, or smartphones.
- Web Hosting: Host your own website or blog without paying for third-party hosting services.
- Application Hosting: Run applications such as databases, game servers, or even virtual machines.
By leveraging free operating systems and open-source software, you can transform even the most modest hardware into a functional home server.
Step-by-Step Guide
Building a home server on a $15 budget is not only possible but also a rewarding experience. Here’s how you can do it step-by-step:
1. Sourcing Your Hardware
To keep costs low, we’ll utilize second-hand or repurposed hardware. Here’s what you’ll need:
- Old PC or Laptop: Check your storage or ask friends and family for an old, unused computer. Anything with at least 2GB of RAM and a 1GHz processor should work.
- Raspberry Pi (Optional): If you can’t find an old PC, consider using a Raspberry Pi. The older models can often be found for $10-$15.
- Power Supply: Ensure your chosen machine has a working power supply. For Raspberry Pi, you’ll need a 5V micro USB charger.
2. Choosing the Operating System
For a budget-friendly home server, free operating systems are your best friend. Here are some options:
- Linux Distributions: Ubuntu Server and Debian are popular choices for their ease of use and community support.
- FreeNAS: Ideal for turning any PC into a network-attached storage (NAS) device.
- OpenMediaVault: A lightweight option, perfect for Raspberry Pi, focused on network storage.
Download the ISO file of your chosen OS and create a bootable USB stick.
3. Setting Up Your Server
With your hardware and OS ready, it’s time to set up the server:
- Install the OS: Boot your machine from the USB stick and follow the on-screen instructions to install the OS.
- Network Configuration: Connect your server to your home network via Ethernet for better performance and reliability.
- Install Necessary Software: Use package managers like APT (for Debian-based systems) to install required software like Samba for file sharing, Plex for media streaming, or Apache for web hosting.
4. Configuring Services
Once the basic setup is complete, you can configure various services:
- File Sharing: Set up Samba for Windows-compatible file sharing or NFS for Linux-based systems.
- Media Streaming: Configure Plex or Jellyfin to stream your media library across devices.
- Web Hosting: Use Apache or Nginx to host a personal website or blog.
- Automation: Consider setting up cron jobs for automated backups or updates.
Common Mistakes to Avoid
Building a home server on such a tight budget involves avoiding some common pitfalls:
- Overlooking Software Requirements: Ensure your chosen OS and applications can run on your hardware.
- Ignoring Network Security: Properly configure firewalls and use strong passwords to protect your data.
- Neglecting Backups: Always have a backup strategy to prevent data loss.
- Forgetting Power Management: Consider energy consumption and configure power settings to save on electricity.
Real-World Examples
Here are a couple of examples of what you can achieve with a home server built on a budget:
Example 1: Family Media Hub
Transform an old laptop into a media hub for your family. By installing Plex, you can stream movies, TV shows, and music to devices all over the house. With a shared library, everyone gets access to the content they love, stored centrally and accessible anytime.
Example 2: Personal Cloud Storage
Set up a cloud storage solution using software like Nextcloud on your server. This allows you to access your files from anywhere, similar to services like Dropbox, but with total control over your data. You can even sync files across devices and share them securely with others.
Final Thoughts
Building a home server on a $15 budget is not only feasible but also incredibly satisfying. It gives you the freedom to customize your setup, learn new skills, and control your data without breaking the bank. While there are some limitations due to hardware constraints, the benefits of having a personal server are immense. Whether you’re using it for media streaming, file storage, or web hosting, a home server can enhance your digital life in more ways than one. So, dig out that old PC or grab a Raspberry Pi, and start building your own server today!